Creating a stunning and reliable decking frame in the UK is a gratifying DIY project that can transform your outdoor space.
This comprehensive guide takes you through each step to ensure your decking project is a success.
Introduction
🌟 The Importance of a Solid Decking Frame
Your decking frame serves as the backbone of your outdoor haven, and understanding its significance is crucial before diving into construction.
A robust decking frame ensures that your deck can withstand the unpredictable British weather and the weight of outdoor furniture, gatherings, and more.
A sturdy decking frame offers several benefits:
- Durability: It prolongs the life of your deck, reducing the need for frequent repairs or replacements.
- Safety: A well-constructed frame ensures your deck can safely support all planned activities.
- Aesthetics: A level and stable frame provides a solid base for your decking boards, creating a visually appealing outdoor space.
Planning Your Decking Project
📋 Assessing Your Space and Requirements
Before you grab your tools, take the time to envision your ideal deck. Consider the available space, its intended purpose, and the design that suits your taste and lifestyle.
Tips for Effective Planning:
- Measure the available area accurately to determine the deck's size and shape.
- Consider the deck's purpose – will it be for relaxation, dining, or entertaining?
- Think about traffic flow and seating arrangements for optimum functionality.
📜 Obtaining Necessary Permits
Building regulations in the UK may require permits for certain decking projects. It's essential to research and obtain the necessary permits before you start construction. Failure to comply with local regulations can result in costly legal issues later on.
Steps to Obtaining Permits:
- Contact your local council or planning authority for guidance.
- Prepare a detailed plan of your decking project, including dimensions and materials.
- Submit your application well in advance to ensure timely approval.
🛠️ Gathering Materials and Tools
Quality materials and the right tools are the foundation of a successful decking project. Here's a checklist of essential items you'll need:
Materials You May Need:
- Pressure-treated timber or composite decking boards
- Support posts and beams
- Joists and joist hangers
- Deck screws or bolts
- Concrete mix for footings
- Gravel or crushed stone for base
Tools:
- Measuring tape and square
- Circular saw or miter saw
- Screwdriver or cordless drill
- Spirit level
- Post hole digger or auger
- Shovel and wheelbarrow
- Safety gear (gloves, safety glasses, hard hat)
See the Woodgrain Decking we offer: Triton Woodgrain Composite Decking
Understanding Decking Frame Basics
🏡 What is a Decking Frame?
Essentially, it's the structural framework that supports your entire deck, providing a strong foundation for all the activities and elements that will grace its surface.
This unassuming framework bears the weight of outdoor furniture, the laughter of friends and family, and even the occasional British rain shower without faltering.
Key Components of a Decking Frame:
- Support Posts: Vertical components that carry the load from the deck.
- Beams: Horizontal supports that distribute the load from the joists.
- Joists: Parallel framing members that provide the surface for attaching decking boards.
🔨 Types of Decking Frames
There are two primary types of decking frames, each with its advantages and suitable applications:
1. Joist-on-Beam Frame:
- Advantages: Ideal for ground-level or low-level decks, provides a clean look.
- Construction: Joists are attached directly to the beams, creating a flush surface.
2. Post-and-Beam Frame:
- Advantages: Suitable for raised decks, offers better stability.
- Construction: Support posts are installed first, and then beams are attached to the posts. Joists are then fastened to the beams.
🪵 Decking Frame Materials
The choice of materials for your decking frame depends on factors such as budget, aesthetics, and maintenance preferences.
Common Decking Frame Materials:
- Pressure-Treated Timber: Affordable and widely used, treated to resist decay and insects.
- Composite Materials: Low maintenance, resistant to rot and pests, but can be more expensive.
- Steel: Offers exceptional strength but may require professional installation.
Safety Precautions
⚠️ Protective Gear
Safety should always be your top priority when working on a decking project. Ensure you have the following protective gear:
- Gloves: Protect your hands from splinters and sharp edges.
- Safety Glasses: Shield your eyes from flying debris and dust.
- Hard Hat: Guard your head against falling objects and accidental impacts.
Additional Safety Tips:
- Wear appropriate clothing, including long sleeves and pants.
- Use ear protection if working with loud machinery.
- Keep a first-aid kit handy for minor injuries.
📏 Ensuring a Level Surface
A level surface is fundamental for a stable and safe deck. Here's how to ensure precise leveling:
Steps for Leveling:
- Use a spirit level to check for unevenness.
- Adjust support posts and beams as needed to achieve a level base.
- Recheck the levelness regularly during construction.
👷 Checking for Utility Lines
Before you dig post holes, it's essential to locate and mark any underground utility lines. Failing to do so can lead to accidents and costly repairs.
How to Check for Utility Lines:
- Contact your local utility providers to request line markings.
- Use a utility locator tool to identify the precise location of pipes and cables.
- Avoid digging in areas with marked utility lines.
See more about How to Seal a Deck
Measuring and Layout
📐 Determining Deck Size and Shape
Accurate measurements and careful planning are crucial for creating a deck that fits seamlessly into your outdoor space. Follow these steps to determine the size and shape of your deck:
Measurement Tips:
- Use a measuring tape and square to ensure precision.
- Consider any existing structures, trees, or obstacles that may affect the deck's layout.
- Determine the desired height of your deck, especially if it's raised.
📍 Marking Post Positions
Precisely marking post positions is essential to ensure a uniform and stable deck structure.
Steps for Marking Post Positions:
- Use wooden stakes and string to outline the deck's perimeter.
- Mark the positions of support posts within the perimeter.
- Ensure that the spacing between posts meets local building codes and engineering recommendations.
✨ Spacing Joists
Proper joist spacing is essential for the structural integrity of your deck and the longevity of your decking boards.
Guidelines for Joist Spacing:
- Typically, joists are spaced 16 inches apart for traditional decking boards.
- Composite decking may have specific manufacturer recommendations for joist spacing.
- Always consult local building codes and product specifications for precise spacing requirements.
Now that we've covered the initial stages of your decking project, we're ready to move on to part II.
IV. Setting the Foundation
Setting the foundation is a critical step that ensures the stability and longevity of your decking frame. The foundation includes support posts and footings that anchor your deck securely to the ground.
🕳️ Digging Post Holes
-
Choose the Right Location: Determine where your support posts will be placed, keeping in mind the size and shape of your deck.
-
Prepare the Ground: Clear the area of vegetation and debris, ensuring a clean and level surface.
-
Digging Post Holes: Use a post hole digger or auger to dig holes for the support posts. The depth and diameter of the holes should adhere to local building codes and your deck's specific requirements.
-
Consider Soil Type: Pay attention to the type of soil you encounter while digging. Soil conditions can affect the stability of your deck.
🪚 Installing Support Posts
-
Select Quality Posts: Choose pressure-treated or appropriately rated support posts for your region.
-
Place the Posts: Insert the support posts into the holes, ensuring they are plumb and level. Temporary bracing can help maintain position during installation.
-
Pour Concrete Footings: Fill the post holes with concrete to create secure footings. Use a level to ensure the posts are perfectly vertical while the concrete sets.
-
Allow for Curing: Allow the concrete to cure fully before proceeding with the next steps. This ensures a solid foundation for your decking frame.
⚙️ Securing Footings
-
Verify Proper Alignment: Double-check that your support posts are aligned correctly and securely anchored in the concrete footings.
-
Add Bracing: Temporary diagonal bracing can be added to maintain stability while the concrete cures completely.
-
Inspect for Levelness: Ensure that the support posts are level and plumb, as any discrepancies can affect the frame's integrity.
Framing the Joists
Framing the joists is the next crucial phase in building a solid decking frame. The joists provide the horizontal framework upon which your decking boards will be installed. Proper spacing and attachment are key.
🔧 Laying Out Joists
-
Plan Joist Layout: Decide on the layout and spacing of your joists. Typically, joists are spaced 16 inches apart for traditional decking boards.
-
Align Joists: Position the joists perpendicular to the support beams, ensuring they are evenly spaced and properly aligned.
-
Mark Attachment Points: Mark the attachment points on both the support beams and the ledger board, which will secure the joists to the house, if applicable.
-
Attach Joists: Secure the joists to the ledger board and support beams using joist hangers, through-bolts, or appropriate fasteners. Ensure they are level and aligned with your layout plan.
🔗 Joist Attachment Methods
-
Joist Hangers: Joist hangers are metal brackets that provide secure support for the joists. They are attached to the ledger board and support beams, cradling the joists in place.
-
Through-Bolts: Through-bolts are long, threaded rods that are passed through holes drilled in the ledger board, support beams, and joists. They are secured with nuts and washers.
-
Fasteners: Depending on your chosen attachment method, use appropriate screws or nails to secure the joists in place. Ensure they are driven in firmly and evenly.
With the foundation set and joists securely in place, your decking frame is taking shape. It's essential to pay attention to every detail during this phase to ensure the stability and longevity of your deck.
Creating the Beam Structure
Creating the beam structure is a pivotal step in crafting a resilient decking frame. The beams provide crucial support and stability to your deck, ensuring it can handle the weight of furniture, gatherings, and the unpredictable British weather.
🪜 Selecting Beams
-
Choose Quality Materials: Opt for pressure-treated timber, steel, or composite materials for your beams. The choice depends on your budget and the desired aesthetics.
-
Sizing Your Beams: Determine the appropriate size and dimensions of your beams based on your deck's design and load-bearing requirements.
-
Positioning Beams: Place the beams on top of the support posts, ensuring they are level and evenly spaced.
-
Secure Beams: Fasten the beams securely to the support posts using appropriate hardware, such as brackets, screws, or through-bolts.
🧰 Attaching Beams to Posts
-
Proper Placement: Position the beams so that they align perfectly with the support posts. Ensure they are level and securely fastened.
-
Use Brackets: Brackets and connectors designed for beam-to-post attachment can provide additional stability and load-bearing capacity.
-
Consider Splicing: For longer beams, splicing may be necessary. Use manufacturer-recommended methods and connectors for a strong splice.
Decking Frame Bracing
Decking frame bracing is often overlooked but plays a pivotal role in ensuring the structural integrity of your deck. Proper bracing prevents sway, sagging, and other forms of structural instability, making your deck safer and more durable.
🧭 Adding Diagonal Bracing
-
Identify Bracing Locations: Determine where diagonal bracing is needed. Corners and long spans are common areas that benefit from bracing.
-
Cut Bracing Material: Use pressure-treated lumber or appropriate materials to create diagonal braces. Ensure they are cut to the correct length and angle for a snug fit.
-
Attach Braces Securely: Attach the braces to the support posts and beams using heavy-duty screws or appropriate connectors. Ensure a tight fit and proper angle for effective bracing.
🧱 Importance of Bracing
-
Enhanced Stability: Diagonal bracing prevents lateral movement, ensuring your deck remains stable even during windy conditions or heavy loads.
-
Reduced Sway: Proper bracing reduces the chances of your deck swaying or vibrating, creating a safer and more comfortable outdoor space.
-
Longevity: Bracing extends the lifespan of your decking frame, minimizing wear and tear caused by structural movement.
With the beam structure in place and the added strength of proper bracing, your decking frame is now a solid and reliable foundation for your outdoor space.
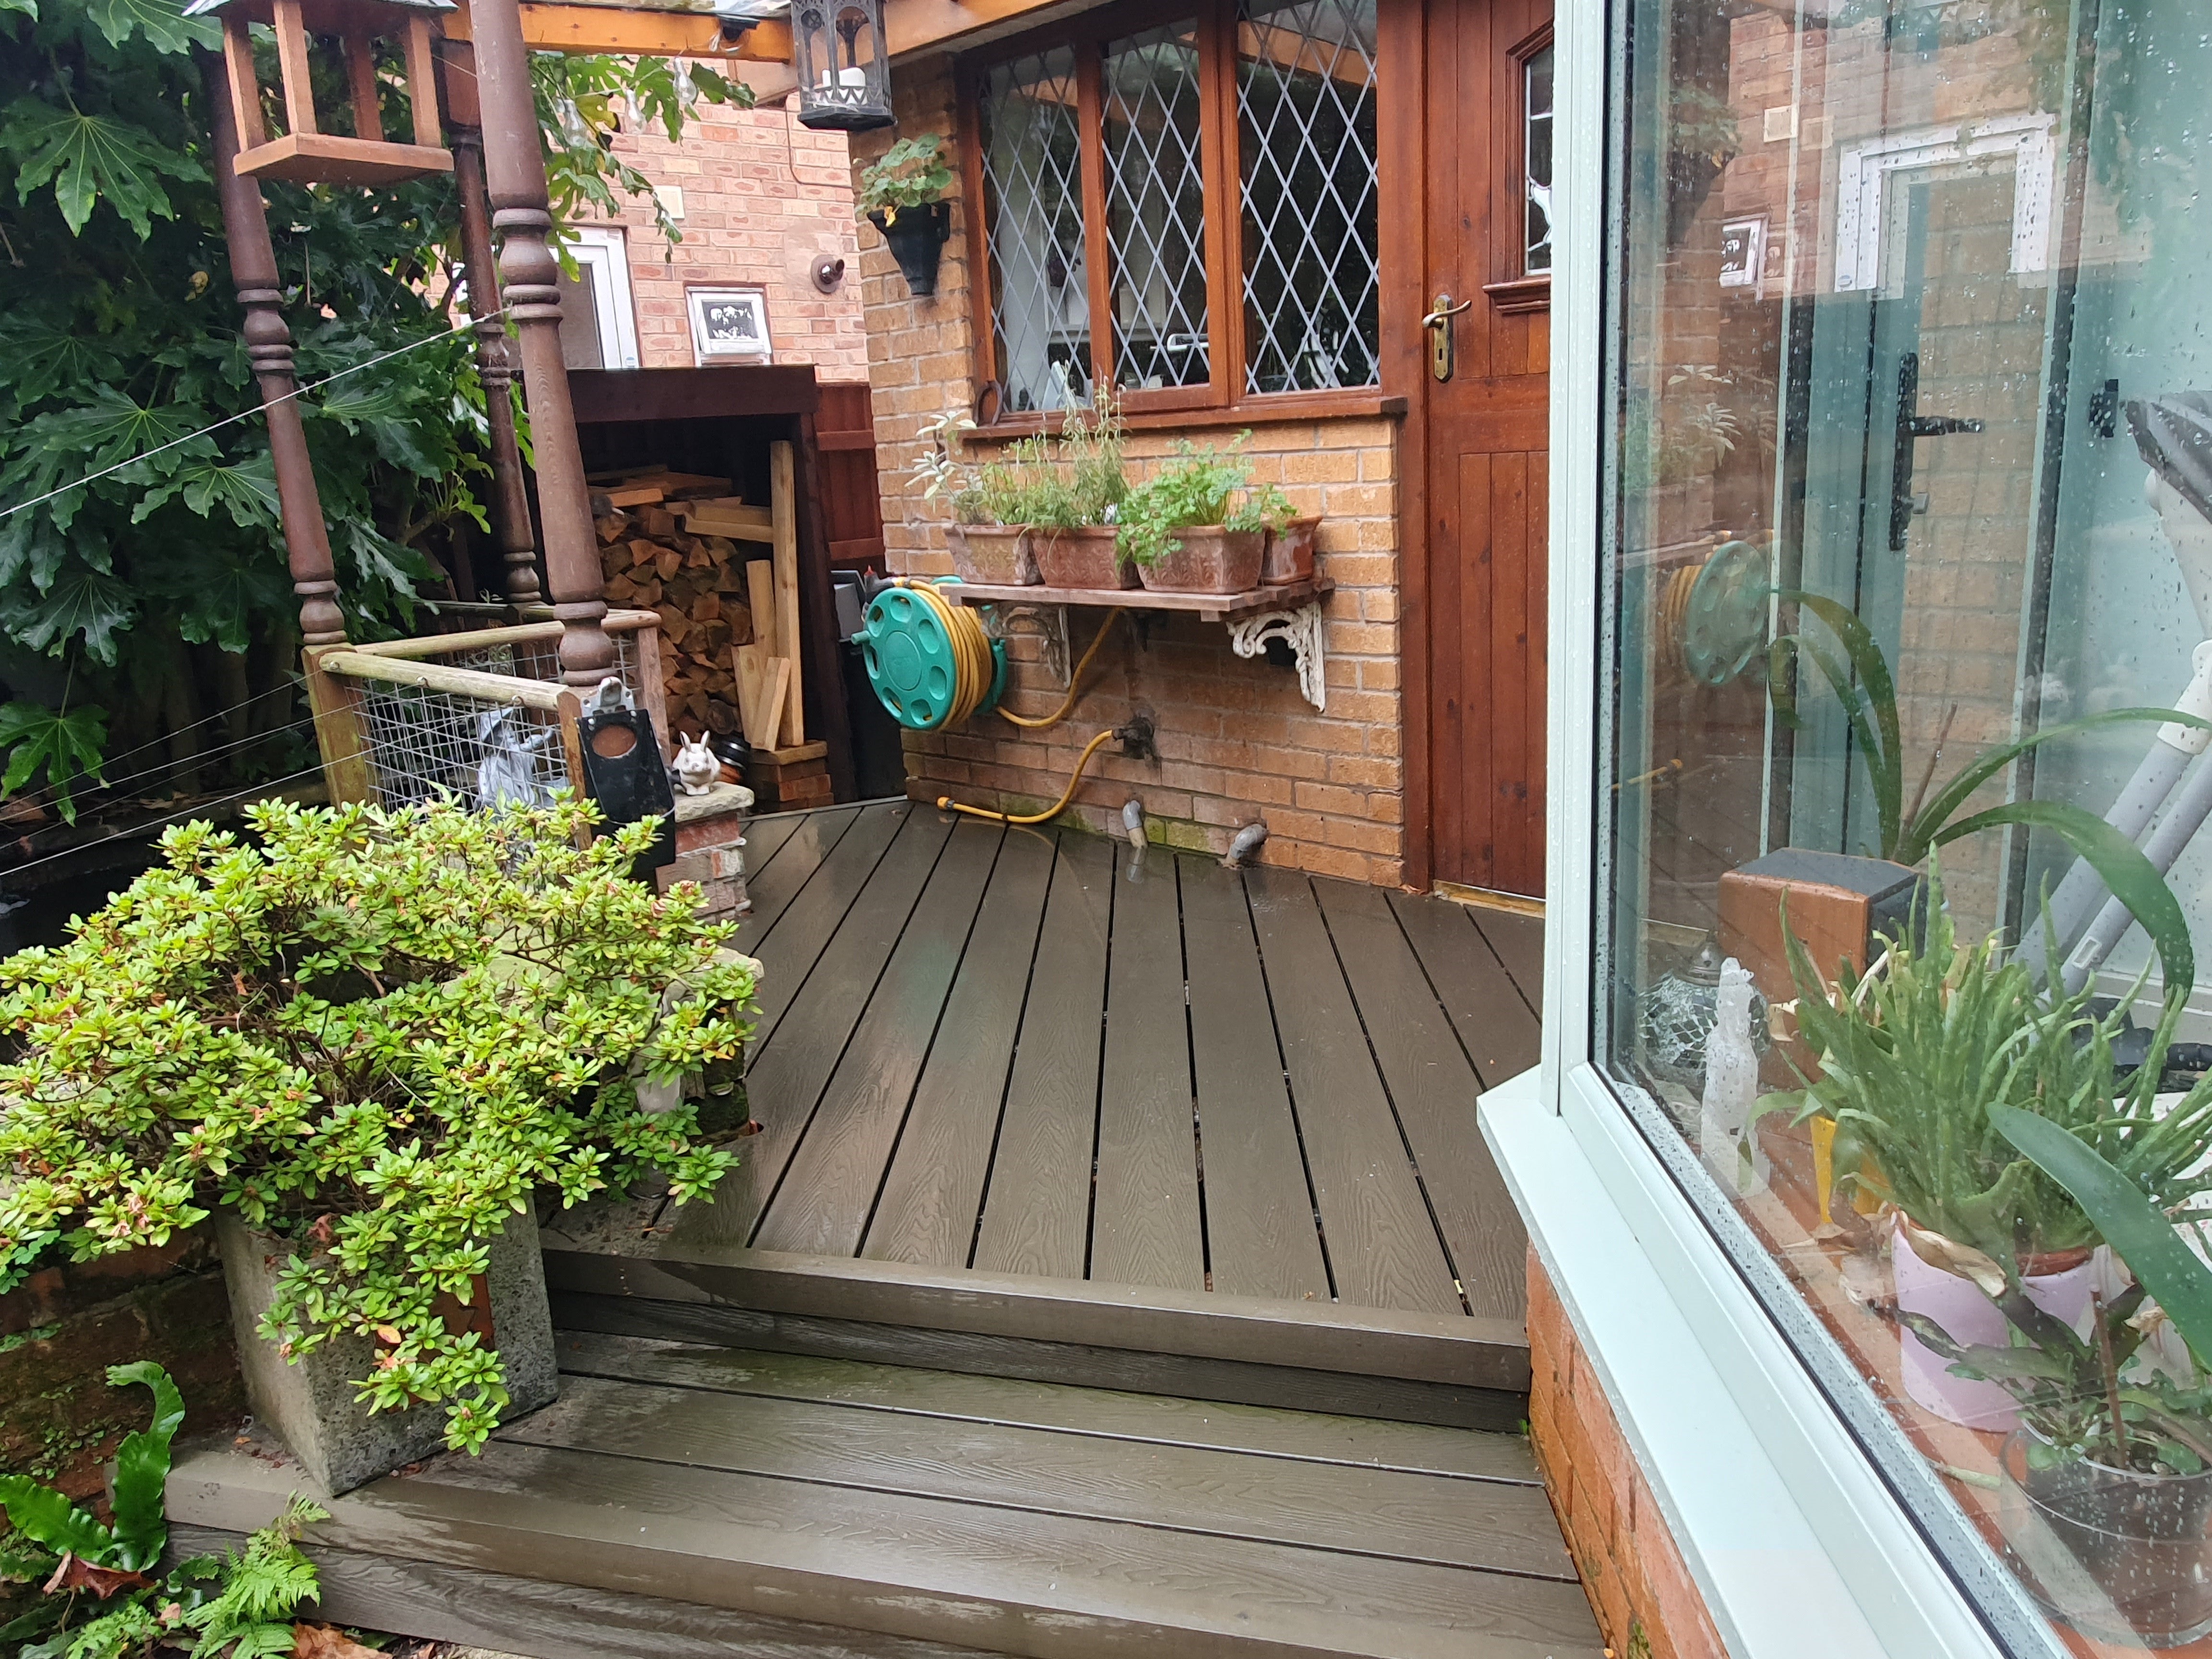
Installing Decking Boards
Installing decking boards is the phase where your decking frame truly starts to take shape. The choice of decking material, pattern, and fastening method can significantly influence the aesthetics and maintenance of your deck.
🪚 Choosing Decking Materials
-
Consider Your Style: Select decking boards that match your preferred style. Options include traditional timber, composite materials, or even exotic hardwoods.
-
Maintenance Preferences: Different materials require varying levels of maintenance. Consider how much time you're willing to invest in upkeep.
-
Environmental Impact: Evaluate the environmental impact of your chosen decking material. Some options are more eco-friendly than others.
-
Budget: Keep your budget in mind when choosing materials, as decking boards can vary widely in cost.
🔩 Fastening Decking Boards
-
Screws or Hidden Fasteners: Choose between using screws for a traditional look or hidden fasteners for a clean, screw-free surface.
-
Spacing and Alignment: Ensure consistent spacing between decking boards to allow for proper drainage and expansion. Use spacers to maintain uniform gaps.
-
Secure the Boards: Fasten the decking boards to the joists securely, making sure they are level and aligned with your layout plan.
🎨 Decking Patterns
-
Creative Layouts: Experiment with different decking patterns to add visual interest to your deck. Options include diagonal, herringbone, or chevron layouts.
-
Border Boards: Consider incorporating border boards or contrasting colours for a striking design element.
-
Trimming and Finishing: Trim any overhanging boards and finish the edges for a polished appearance.
Decking Frame Inspection
Before you officially declare your decking frame complete, a thorough inspection is essential to ensure safety and longevity. Pay attention to every detail and address any issues promptly.
🔍 Ensuring Levelness
-
Use a Spirit Level: Check the levelness of your deck's surface in all directions. Any deviations should be corrected to avoid uneven weight distribution.
-
Inspect Joist Spacing: Ensure that the spacing between joists is consistent, as uneven spacing can lead to sagging or instability.
-
Check for Protruding Fasteners: Inspect the deck's surface for any fasteners that may have risen above the boards. These should be countersunk or replaced.
🧰 Stability and Bracing
-
Evaluate Diagonal Bracing: Ensure that the diagonal bracing is securely in place and providing the intended stability.
-
Test for Sway: Apply pressure to different areas of the deck to check for any noticeable swaying or movement. Address any instability immediately.
-
Inspect Beam Connections: Verify that beams are securely connected to support posts, with no signs of separation or weakness.
🛠️ Final Touches
-
Trim and Finish: If necessary, trim any excess material and finish the edges for a neat and professional appearance.
-
Clean the Deck: Remove any construction debris or dirt from the deck's surface to reveal its true beauty.
-
Apply a Finish: Consider applying a protective finish or sealant to your decking boards to enhance their longevity and appearance.
With the installation of your decking boards and a meticulous final inspection, your decking frame is now ready to be enjoyed.
Congratulations on mastering the art of crafting a sturdy decking frame! We hope this comprehensive guide has empowered you with the knowledge and skills needed to create the outdoor oasis of your dreams.
For any further inquiries or assistance, please don't hesitate to Contact Us. Enjoy your new deck and the countless moments of relaxation and entertainment it will provide! 🌟🏡🪚